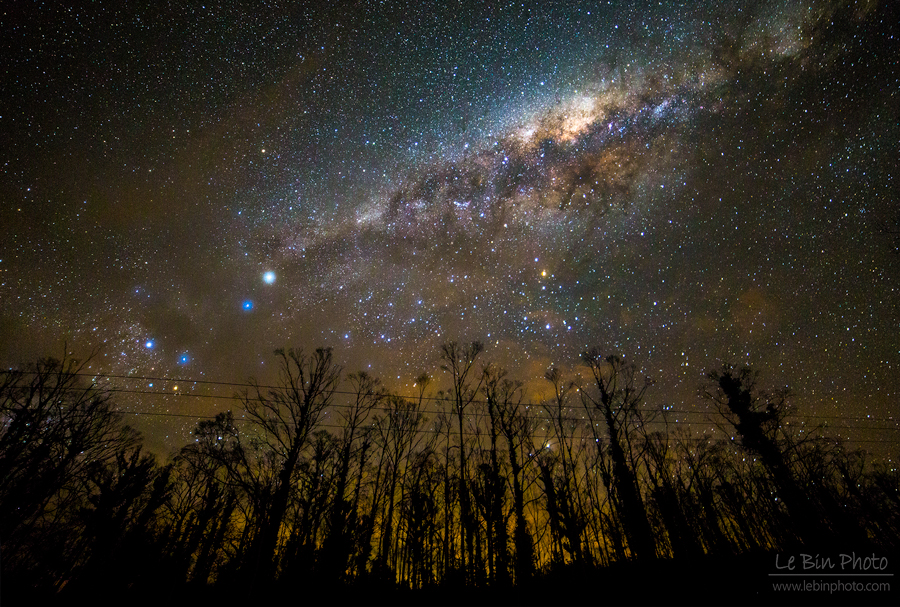
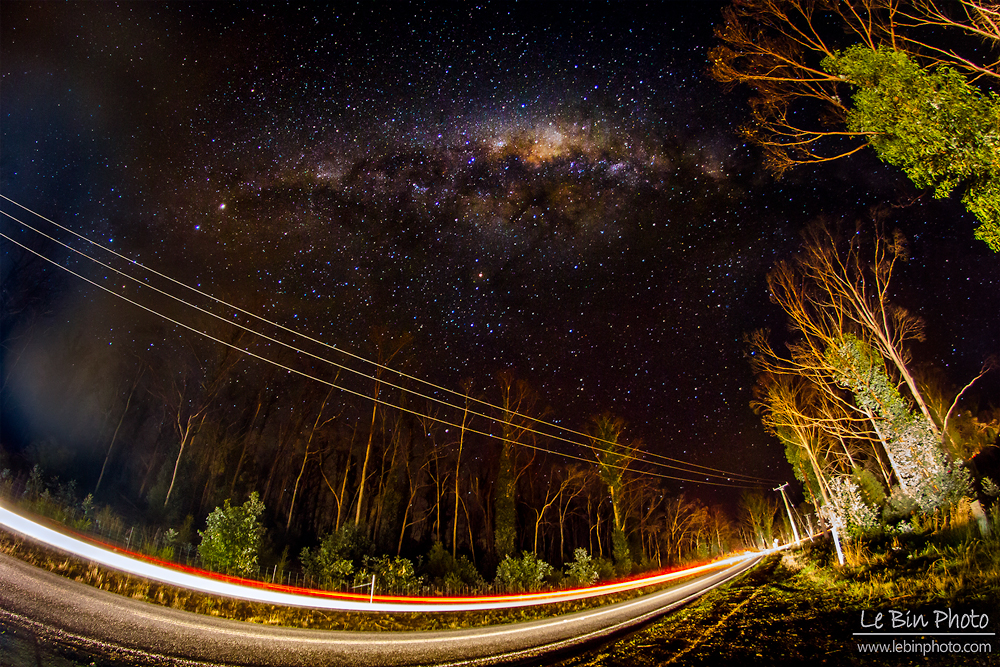
Recently, I had published some of my milky way photos taken from Tasmania. Then, a few friends of mine started to show interest on them, and would like to know more about it. I'd been motivate to write a short introduction on how, where and when to get milky way photos.
Few months before my trip to tassie, I had done intensive amount of research to be arm with basic knowledge about milky way photography. Hence, I'll like to share some of them with you here today.
How to get a milky way photo.
Tools:
1. Camera allowed to do long exposure. - turn down screen brightness, if you have one.
2. Ultra wide angle, or wide angle lens. - turn to manual focus, focus at infinity
3. Tripod (need!!!)
4. Cable release (optional)
5. Small torchlight (even better if there were tungsten balance and dim-able )
Setting:
- start from your maximum aperture (can be f/1.4, f/2, f/2.8, or f/4 , lowest as possible. )
- ISO 1600 is a good starting point, to be adjust after that.
- recommended white balance set about 3200K to 4200K
- SHUTTER SPEED.
in order to get a SHARP milky way photo,
there is a constant number of 600, divided by focal length equilibrium on 35mm sensor/film.
if you`re using 11mm on canon apsc camera, will be ideal to set shutter speed at 34 sec (max).
if you`er using 12mm on nikon / pentax / sony / fuji apsc camera. will be 33 sec.
if you`re using 16mm on Full Frame camera, will be advice to set at 37 sec.
if you`re using 24mm on Full Frame camera, it is 25 sec.
These are maximum of shutter speed before get obvious drag when zooming in.
My normal setting for 24mm on full frame, is ISO1600, f/2, 25sec (just an example)
if you see in histogram, it is too dark, pump up your ISO.
if you think it look soft, close down your aperture.
if look too vignette at the corner, stop down as well.
if there are trail, try reduce shutter speed.
if too noisy, JUST LEAVE IT!
where, when and how to find stars / astro / milky way? click read more.









































 RSS Feed
